Friday, February 24, 2012

Cocoa Grahams with Chile Sugar


Just about everyone knows the basic goodness of graham crackers. Made with honey and graham flour, we grew up eating them as snacks, more fancifully as S’mores and now we know them as the main ingredient in crusts for cream pies and tarts.

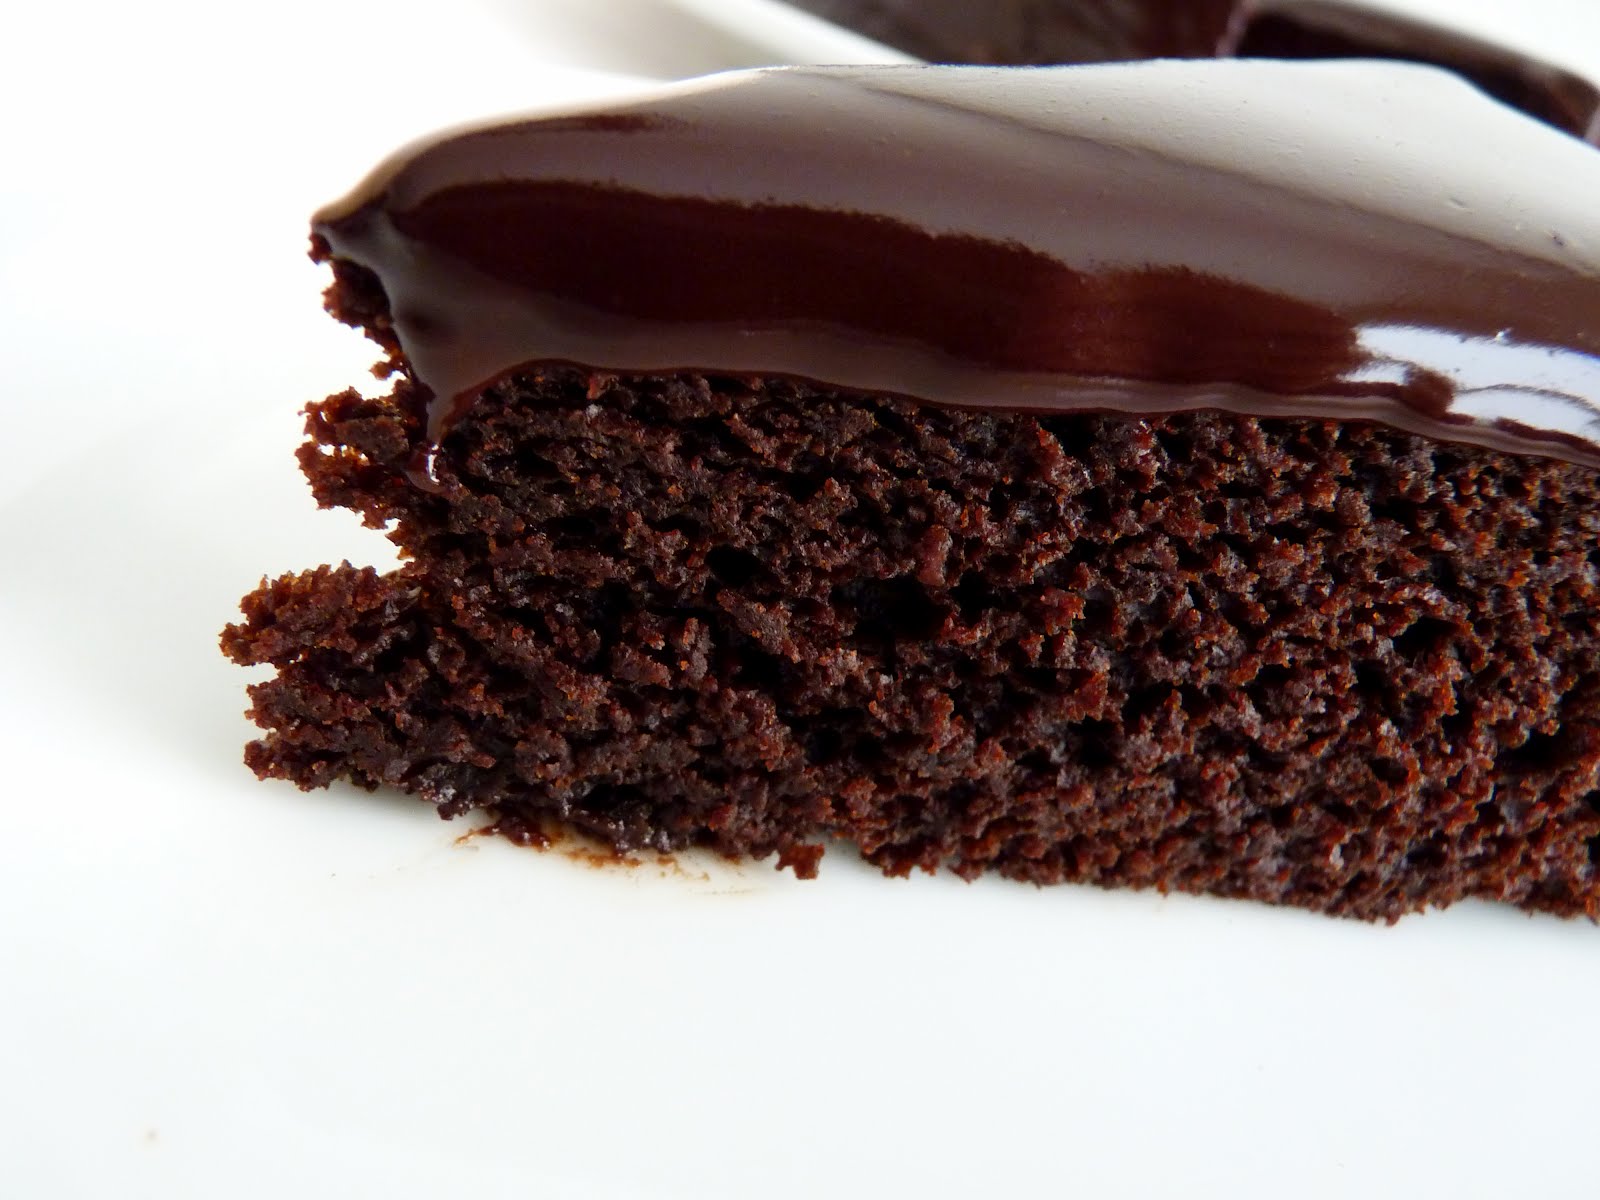
There's a recipe for Chile-Cocoa Graham Crackers from wondrous pastry chef Alice Medrich featured in Eating Well, a magazine dedicated to promoting healthy eating and cooking. It’s a recipe that takes the familiar graham cracker into a more adult realm while trimming back some of the ingredients for a healthier approach. What also makes it unusual is Alice’s brilliant flair for cocoa and cookies and her idea to add chile powder to the cinnamon sugar sprinkled on top. It’s a great spicy note with the cocoa and really changes the whole basic idea of a graham cracker for the better. It’s a very good cookie that’s certainly lower in fat and sugar but I must confess that I couldn’t stop wondering how it would taste if it weren’t quite so healthy. Now that’s something I never do but since it seemed to hover at the back of my mind for so long I finally set about trying to make her fine work just a little more decadent. Odd, I know, but there it is.

Here is my revision, just for fun. They're just slightly sweeter and richer but still quite good. I love her idea for something so rustic yet somehow sophisticated.

Bench notes:

- Alice Medrich recommends natural cocoa rather than Dutched, although either type may be used.
- I added a pinch of smoky chipotle powder to give the topping just a tad more depth.
- This cookie is baked in a solid sheet of cookie dough and then sliced after baking, rather than cutting or shaping the dough into individual cookies. They do crisp up after cooling but depending on how evenly you roll out the dough, the crispness may vary. If they’re not as crunchy as you’d like after they've completely cooled (the center ones may be softer), simply place them on a parchment-lined baking sheet and toast for about 10 minutes. Watch them closely to avoid burning.
- I used a sharp serrated knife and a sawing motion to slice the cookies.
- Store cookies in an airtight container.
- Do yourself a great favor and stock up on Alice Medrich cookbooks. Her work is meticulous, in a class by itself.


Chile-Cocoa Graham Crackers
based on recipe by Alice Medrich in Eating Well magazine
Makes about 3 dozen 2” cookies

3/4 C whole wheat flour
1/2 C flour
1/4 C cocoa powder, preferably natural
1/3 C sugar
2 T dark brown sugar
1/2 t salt
1/2 t baking powder
1/4 t baking soda
3 oz (6 T) cold butter, cut into small pieces
1/4 C milk
3 T honey
1 t vanilla

Topping
1 T sugar
1/4 t ancho chile powder or regular chili powder
pinch of chipotle chile powder
1/4 t cinnamon
very small pinch of salt

Place the flour, cocoa, sugars, salt, baking powder and baking soda in the bowl of a food processor and pulse until thoroughly combined. Add the pieces of butter and pulse until the mixture resembles cornmeal. Whisk milk, honey and vanilla together and drizzle over the flour butter mixture. Process just until the dough forms clumps and holds together when pinched.

Place the cookie dough onto a sheet of parchment and press it together into a flat rectangle. Put a piece of plastic wrap on top and roll the dough out evenly to about a 10” square. Place on a baking sheet and refrigerate until thoroughly chilled.

Preheat oven to 350 degrees. For the topping, combine the sugar, chile powders and cinnamon.

Take the cookie dough from the refrigerator and remove the plastic wrap. Prick the dough all over with a fork. Sprinkle the dough lightly with just a tiny bit of salt. Dust the dough evenly with the spiced sugar.

Even up the edges of the cookie dough with a sharp knife but leave the edge scraps in place (for nibbling and to protect the rest of the grahams from burnt edges). Bake until the cookies just start to brown around the edges, 20 to 25 minutes. The cookies will continue to crisp up as they cool.

Cool the pan on a wire rack for 10 minutes. Cut into desired shapes and sizes. If there are any cookies that are too soft, return them to a 325 oven for about 10 minutes to crisp them up.

Friday, February 17, 2012

Oatmeal Coconut Berry Bars


Bar cookies are phenomenal. They’re chewy and moist and super easy to prepare. The mixing and layering are usually pretty forgiving, so there are endless combinations of ingredients to play with, which means you can usually wind up with something that’s totally in your wheelhouse.

I happened to have some coconut left over from another project and remembered that I wanted to try a recipe for a bar cookie from Gourmet. It has oats and coconut in the base and topping, which adds to the flavor and texture, along with a layer of fruit jam. I loved the basic idea but I wound up completely revising the recipe because I didn’t want quite so much coconut and I wanted something less sweet. I also added some leavening and vanilla to the dough and changed the size of the baking pan, as well as baking time and temperature.

This particular combination of ingredients produces very good results from a few simple ingredients. The cookies seemed to vanish as soon as they cooled, always a good sign of success.

Bench notes:

- The original recipe called for baking the bars in a 9” x 13” pan at 375 degrees. I made them in a 9” square pan because I wanted a thicker bar. I also lowered the temperature and baked them at 350 degrees for 35 minutes.
- I used less coconut and I cut back on the sugar by half, using equal parts brown and granulated sugar, and thought they were plenty sweet.
- Some of the coconut is toasted and mixed into the dough. The rest of the coconut is sprinkled on top and is left untoasted. Coconut toasts quickly in just a very few minutes and can burn in a blink of an eye, so keep a very close eye on it.
- I used homemade blackberry jam and sprinkled fresh raspberries on top of that. I really loved how the fresh berries brightened the flavor with a touch of acidity.
- I think any sort of your favorite fruit jam would be a good substitute as long as it’s a natural brand that isn’t too sweet.
- One of my favorite bar cookies is Fig & Chocolate Oatmeal Bars.


Oatmeal Coconut Berry Bars

based on a recipe from Gourmet
Makes 16 bars

1 C sweetened shredded coconut, divided
1 1/4 C flour
1 t baking powder
1/4 C dark brown sugar, packed
1/4 C granulated sugar
1/2 t salt
1 1/2 C old fashioned oats
6 oz (12 T) cold butter, cut into pieces
1 t vanilla
generous 1/2 C raspberry or blackberry jam
1/2 C fresh raspberries (optional)

Preheat oven to 350 degrees. Lightly grease an 9” square pan and line with a piece of parchment paper large enough to form an overhang along two sides of the pan.

Spread 3/4 cup coconut evenly on a baking sheet and toast until light golden brown, about 4 – 6 minutes. Keep a very close eye on it because coconut can burn very quickly. Stir as it toasts if it looks like it’s not browning evenly. Cool.

Place flour, baking powder, sugars and salt in a food processor and process to blend. Add oats and toasted coconut and pulse a few times to combine. Add butter and vanilla and process until a dough begins to form.

Press 2/3 of the dough firmly and evenly into bottom of the prepared pan. Spread a layer of jam over the dough (and distribute fresh raspberries over the jam, if using). Crumble the reserved dough evenly over the fruit layer, then sprinkle with remaining 1/4 C untoasted coconut, pressing down gently to secure.

Bake until light golden brown, about 35 minutes. Cool completely in pan on a wire rack. Run a knife around the edges and, using the parchment paper overhang, lift gently to remove. Cut into squares.

Friday, February 10, 2012

Double Chocolate Cake


It’s always the season for chocolate. And the more chocolate cake you try, the more you come to realize there are a number of routes to travel when searching for the ultimate bite. I’m always looking for the deep flavor of cocoa not masked by too much sugar; the perfect texture that is neither too soft nor too toothy; a soothing balance of crumb and moisture in each bite; a wondrous hit of chocolate without being too rich or overwhelming. These are the elements that - depending on the quality of ingredients, technique, method, baking time and temp - conspire in different ways to fulfill that dream chocolate cake experience. Sometimes you want the lightness of a genoise and sometimes you want the perfect balance of Devil’s Food. Or sometimes you want the deep charge of a flourless concoction or the density of a pound cake. And then there’s everything in between.

Which brings me to today’s chocolate cake. This is the famous recipe from Epicurious, Double Chocolate Layer Cake. I’m tempted to call it Chocolate Heartthrob Cake because it’s so superhumanly popular with mostly positive reviews from over 1,400 readers. Since I’d never tried it, I thought I would see what everyone is talking about.

Well, to begin, this is a massively huge 10” cake that would serve 14 - 16, so I scaled back the ingredients to bake a single 8” layer. The cake is very easy to make. It has a little semisweet chocolate bolstered by natural cocoa for a fairly intense chocolate bite. It’s made with oil rather than butter, so you can expect it to be moist with an open crumb. And the very odd part is that it’s baked at 300 degrees for a longer period of time, but it works.

This is a very rich, very moist cake. It wasn’t quite there for me on the perfect texture side of the equation. I thought it was almost ever so slightly too moist, if that’s even possible to understand. But the flavor is very good and everyone who tasted it loved it, so it’s definitely easy to see why it’s gotten so much adoration. It will be another very good chocolate cake in my arsenal of good chocolate cakes.

So off we go. Let’s bake some cake.


Bench notes:
- Do take note: the oven temperature is not a typo. The cake bakes at 300 degrees fahrenheit.

- I first whisked the one egg in the bowl by hand to aerate it and give it some volume so it would be viable on a stand mixer.
- The original recipe calls for a rich chocolate ganache to finish the cake but I used a looser chocolate glaze for a lighter, creamier result. You can use bittersweet or semisweet chocolate, depending on your own desired level of flavor and sweetness. Or you can use half bittersweet and half semisweet.
- For the chocolate glaze, finely chopping the chocolate into small bits ensures it will melt more evenly and efficiently. When the hot cream is added, let it sit for about 2 – 3 minutes so the chocolate can absorb the heat. Then stir gently and slowly, starting in the middle and working outward in concentric circles, to prevent it from cooling down too fast and creating air bubbles. The glaze can be reheated over a low simmering bain marie. When it's ready, flood the center of the cake quickly and then move to the edges.
- The use of corn syrup adds to the viscosity and shine of the glaze. I rarely use corn syrup but in this preparation it is a fairly small amount. You can certainly leave it out if you wish.
- You can also bake this in a 9” pan for about 38 - 40 minutes. Or make cupcakes and bake for 22 – 25 minutes.


Dark Chocolate Layer Cake

scaled down and adapted from Epicurious

1 oz semisweet chocolate, finely chopped
1/2 C hot brewed coffee
3/4 C + 2 T all purpose flour
1/2 C cocoa powder
generous 1/2 t baking soda
1/4 t baking powder
generous 1/4 t salt
1 C sugar
1 large egg
1/4 C canola oil
1/2 C buttermilk
1/4 t vanilla extract [I used 1 t]

Chocolate Glaze

5 oz bittersweet chocolate (or 2 1/2 oz each of bittersweet and semisweet)
3/4 C heavy cream
1 T corn syrup

Preheat the oven to 300 degrees fahrenheit. Grease the bottom and sides of an 8” x 2 1/2” cake pan and line with a circle of parchment.

Finely chop the semisweet chocolate and place in a bowl. Pour the hot coffee over it and let it stand for a minute or so. Whisk until the chocolate is melted and the mixture is smooth.

In another bowl, sift the flour, cocoa powder, baking soda, baking powder, salt and sugar together.

Beat the egg at medium speed until it is pale yellow, about 1 minute. Add the oil, then the buttermilk and vanilla and beat until thoroughly combined. Mix in the melted chocolate and coffee mixture. Add the dry ingredients all at once, and beat on low speed until the batter is just combined. Using a rubber spatula, scrape down the sides and bottom of the bowl and stir to make sure all the dry ingredients are absorbed. Pour the batter into the prepared pan. Bake for about 45 minutes, or until a toothpick inserted in the center of comes out clean.

Cool the cake in the pan on a rack for 10 minutes, then turn it out onto an 8” cardboard round or removable tart pan bottom. Carefully peel off the parchment paper and cool completely. Place the cooled cake along with the cooling rack on a baking sheet lined with parchment.

For the chocolate glaze, finely chop the chocolate into very small pieces and place in a medium bowl.

Bring the cream and corn syrup to a simmer. Keep your eye on it because it will spill over if left unattended. Just as it begins to boil, take off heat and pour it over the chopped chocolate and let it sit for about 2 minutes. Then stir slowly and gently, starting in the middle until thoroughly combined and then working outward in concentric circles until the mixture comes together.

To glaze the cake, pour the glaze quickly in the center of the cake and then around the edges. Let it run for a few seconds and then gently jiggle and tap the baking sheet on the work surface to encourage the glaze to run down the sides of the cake. Just as it begins to dry, run a small flat spatula around the underside of the cardboard round to smooth the bottom edge and prevent “feet” from forming. Let glaze firm up before serving.

Friday, February 3, 2012

Mocha Cream Tart


We are most definitely a coffee culture. In my neighborhood, there are five coffee shops all within shouting distance of one another right around the corner from my front door, each one filled to the brim with happy clientele at any given hour of the day and night. I do love the rich flavor of coffee, so naturally coffee desserts rank right up there with me. And since I’ve been thinking about desserts that bring a special lusciousness to the table, chocolate cream pie with an adult twist seemed like a good project to work into my repertoire. This Mocha Cream Tart is absolutely bursting with the heady combination of coffee and chocolate. For java lovers, it's a dessert that will have you wondering if you’ve truly gotten every last possible morsel off your plate.

This story begins with chocolate tart dough from the Baking with Julia cookbook. It’s super tender and crumbly, so handle with care. The tart is filled with a pastry cream that’s loaded with big coffee flavor and some dark bittersweet chocolate. The custard is very silky rather than stiff. Then to top it all off, the tart is finished with whipped cream flavored with a little bit of sugar and rum. The end result is crumbly cookie crust, creamy custard and luscious whipped cream – a happy trio of great components all in one dessert.

The tart takes some preparation time, which is quite easy to carry out over two days. Prepare the tart dough in a food processor, press it into the tart pan and make the mocha custard. Chill both overnight. Bake off the tart shell the next day. Cool and fill with custard. Garnish with whipped cream and serve. An update to an old classic, next time you feel like a caffeinated version of chocolate cream pie, present this Mocha Cream Tart on your table and watch it disappear with instant abandon.


Bench notes:
- I found the chocolate tart dough a bit dry, so you may want to add just a tad bit more water. Make sure you do the fraisage step – smear the dough across your work surface with the palm of your hand a couple of times until it comes together. A bench scraper is useful for helping to gather up the smeared dough.
- I didn’t find the tart dough easy to roll out so I just pressed it into the tart pan. Just be sure to try and press the same thickness throughout so it bakes evenly. Once the tart is formed, I chilled it in the refrigerator overnight to minimize shrinkage. If you’re short on time, you can place it in the freezer for 1/2 hour. Be sure to dock the bottom of the tart shell several times with the tines of a fork before baking.
- The custard should be made one day in advance to allow it to set up and the flavors to strengthen and meld.
- For the custard, I use coffee in 3 different forms: dark roast whole beans, instant espresso powder and Kahlua liqueur. For a less strong coffee flavor, eliminate the Kahlua and cut back on the espresso powder.
- This custard is silky, so it will loosen up as the chill wears off. If preparing ahead, keep it refrigerated until ready to serve.
- If you’re not going to serve the tart soon after it’s assembled, the crust may get soggy. To prevent that, brush a thin coat of lightly beaten egg white on the bottom and sides of the baked tart shell and bake for an additional 5 minutes. This helps to "seal" it. You can also brush it with a thin layer of melted chocolate and let it set up before filling with custard.
- No need to pipe the whipped cream on top of the tart. Just swirl it on with a spatula.
- If you use a 14” x 4” rectangular tart pan as I did, you’ll have a little bit of extra tart dough and custard. You can bake off the spare dough as cookies for a nibble.


Mocha Cream Tart
Serves 8

Chocolate Tart Dough
adapted from Baking with Julia by Julia Child and Dorie Greenspan
1 1/4 C flour
1/4 C unsweetened cocoa powder, preferably Dutch-processed
1/4 C sugar
1/4 t salt
4 oz (8 T) cold butter, cut into small pieces
1 egg yolk
1 T ice water

Mocha Custard

2 C milk
2 T coffee beans
1/4 C dark brown sugar, packed
1 T instant espresso powder
1 T Kahlua
2 oz bittersweet chocolate
2 oz (4 T) butter @ room temperature
4 egg yolks @ room temperature
3 T granulated sugar
1 T + 1 1/2 t flour
1 T + 1 1/2 t cornstarch
1/2 t vanilla
1/8 t salt, to taste

1 C heavy cream
1 T granulated sugar
1 t vanilla, rum or brandy
chocolate shavings

Lightly grease a 9” tart pan with removable bottom.

For the tart dough, place the flour, cocoa, sugar and salt in the bowl of a food processor. Pulse to blend. Add butter pieces and pulse 8-10 times, until pieces are about the size of small peas. Add yolk and ice water and process in short bursts until crumbly. Turn it out onto a work surface and smear the dough across the surface with the heel of your hand a couple of times, then use a bench scraper to gather it together. Working with a few pieces at a time, press it into the bottom and sides of a 9” tart pan, making sure it’s an even thickness throughout. Chill in refrigerator overnight.

To bake the tart shell, preheat oven to 350 degrees. Prick the bottom several times with the tines of a fork. Bake for 15 minutes or until the dough is dry and firm to the touch. Cool on a wire rack.

For the custard, place the milk, coffee beans and brown sugar in a saucepan. Bring to a slow simmer over medium low heat. Stir in the espresso powder and Kahlua and remove from heat. Cover and steep for half an hour.

Finely chop the chocolate and place in a medium bowl. Cut the butter into very small pieces and add to the chopped chocolate. Set aside.

When the milk and coffee mixture is sufficiently steeped, whisk together the egg yolks and the granulated sugar until lightened. Add the flour and cornstarch and whisk thoroughly until blended. The mixture will be thickened and lemon-colored.

Re-warm the milk and coffee mixture. Strain half of it into the egg yolks, whisking quickly and thoroughly. Strain the remaining milk and whisk. Return to the saucepan and cook over medium low heat, stirring constantly, until mixture comes to a slow boil and thickens. This will take about 1 – 2 minutes. Continue stirring and cooking for another minute until smooth and thick. Pour through a clean strainer into the bowl with the chopped chocolate and butter, pushing the custard through with a rubber spatula. Let it sit for a minute or two and then slowly whisk to incorporate everything together. Add the vanilla and salt, to taste. Mix thoroughly and pour into clean container. Press a piece of plastic into the surface and refrigerate overnight to set up.

To assemble, whip the heavy cream with sugar and flavoring of choice until it holds a medium soft peak. Fill the tart shell with custard. Gently remove the tart from the tart pan. Pipe or dollop swirls of cream on top of tart. Garnish with chocolate shavings. Store in the refrigerator until ready to serve.